


Propulsion Boards
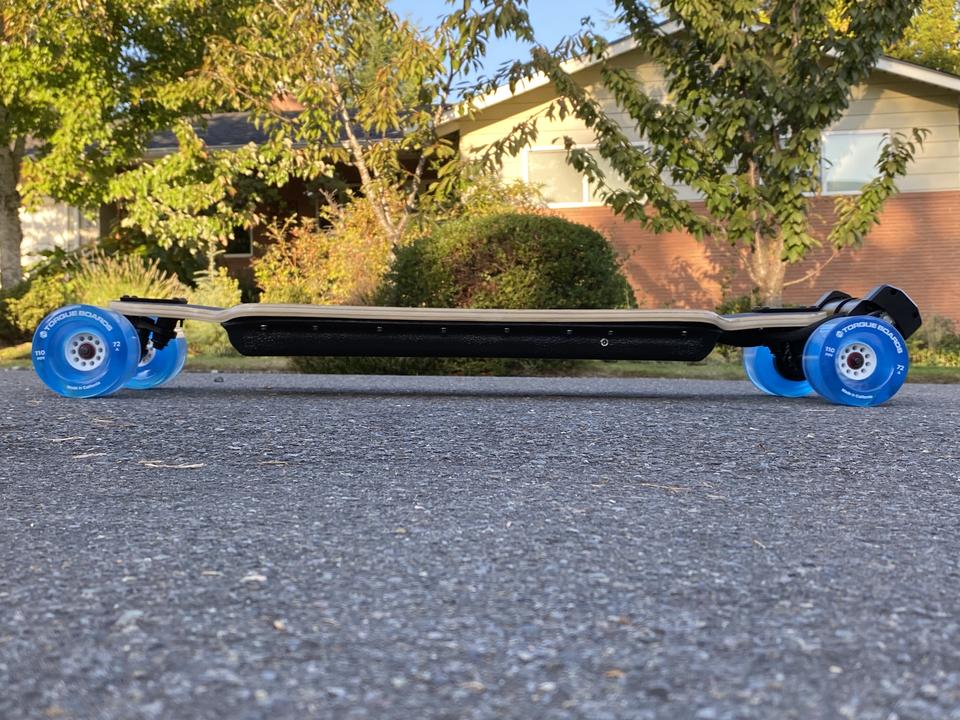
The Demon 2.0 Kit
The Demon 2.0 Kit
4.8 / 5.0
(15) 15 total reviews
Couldn't load pickup availability
Order now - Lead Time is 2 weeks
This kit includes everything that you need to build your very own Demon 2.0! All that you will need are the proper tools and time.
Specs:
- Top Speed:
Street wheels: 38 mph (Some riders reported 41 mph)
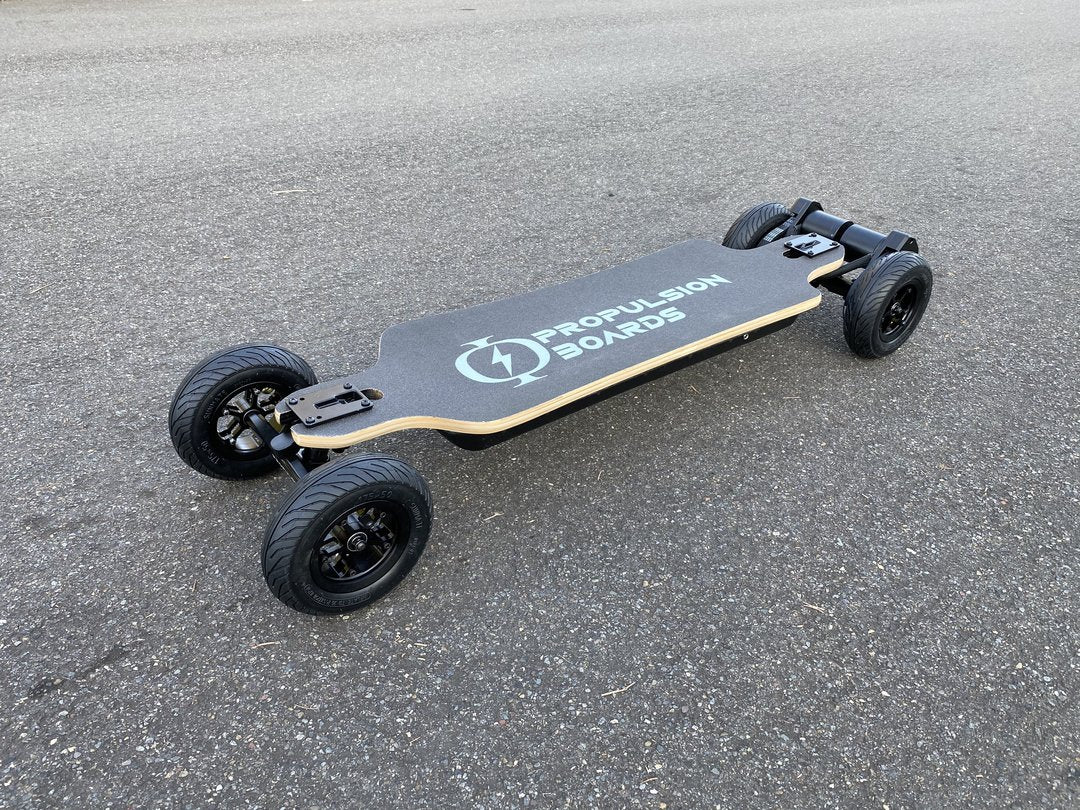
All Terrain wheels: 32 mph
- Range:
Street option: Up to 30 miles (Most riders report around 26 miles)
All Terrain option: Up to 18 miles
What's Included?
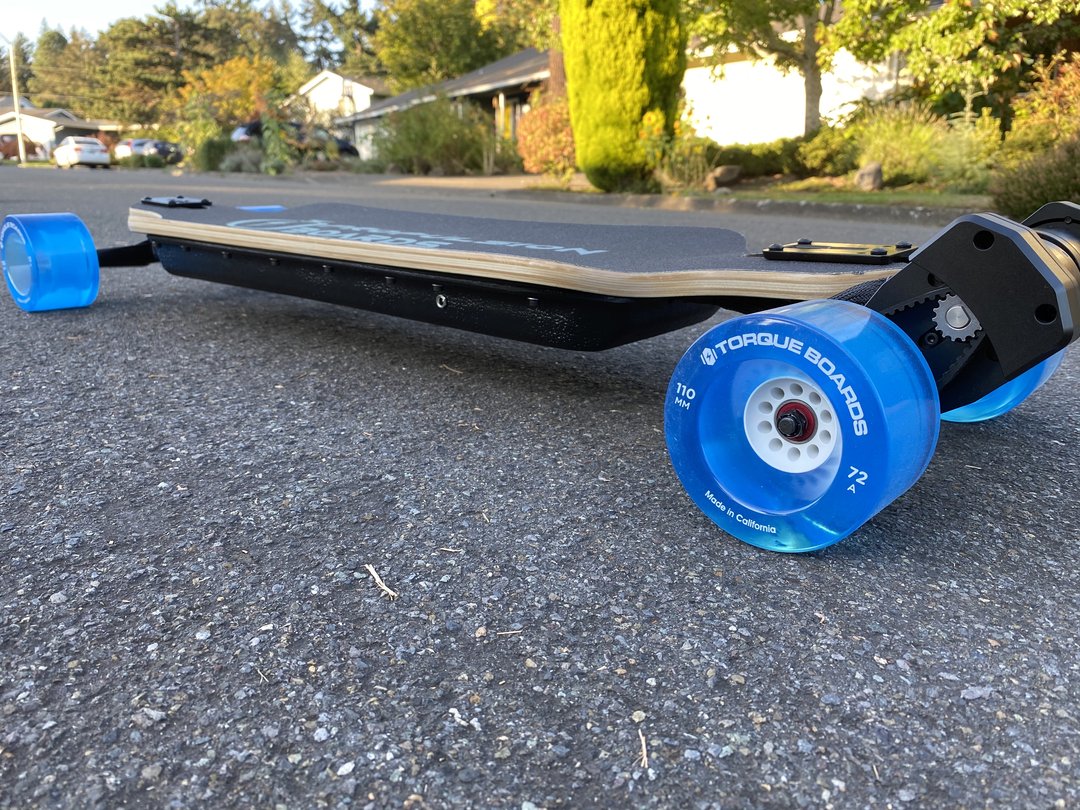
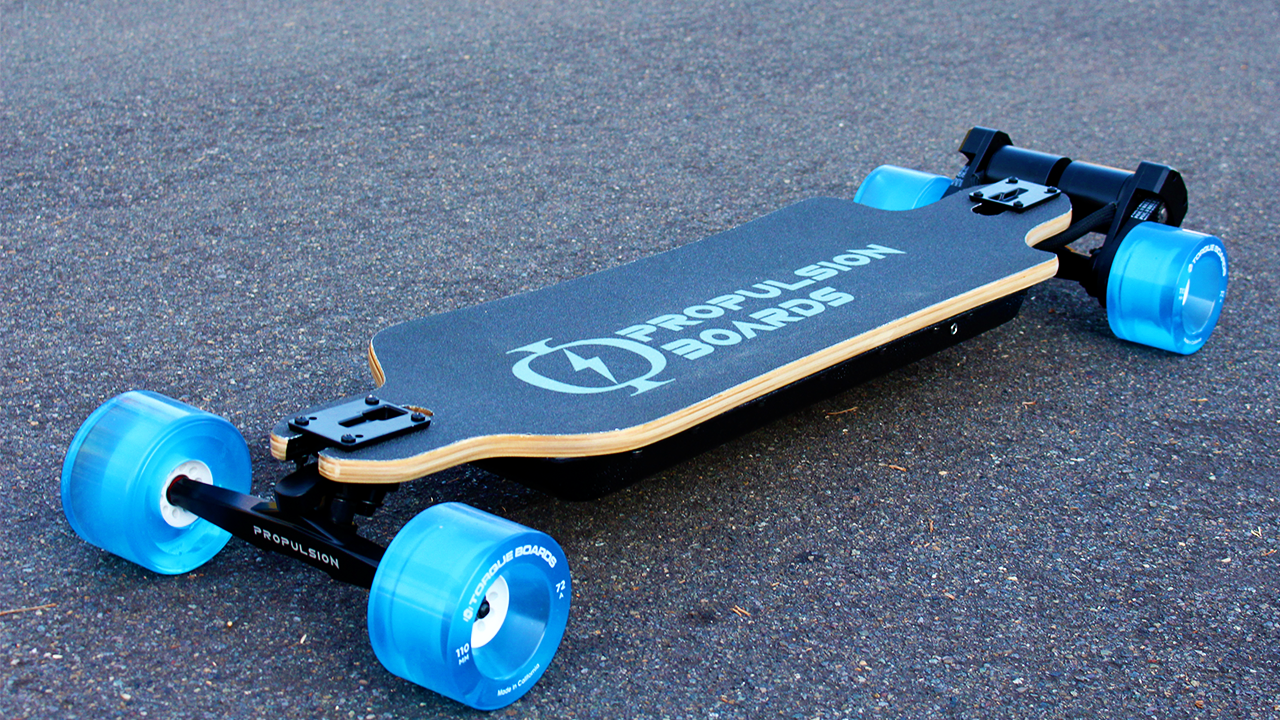
1 X set of 105mm MAD Wheels
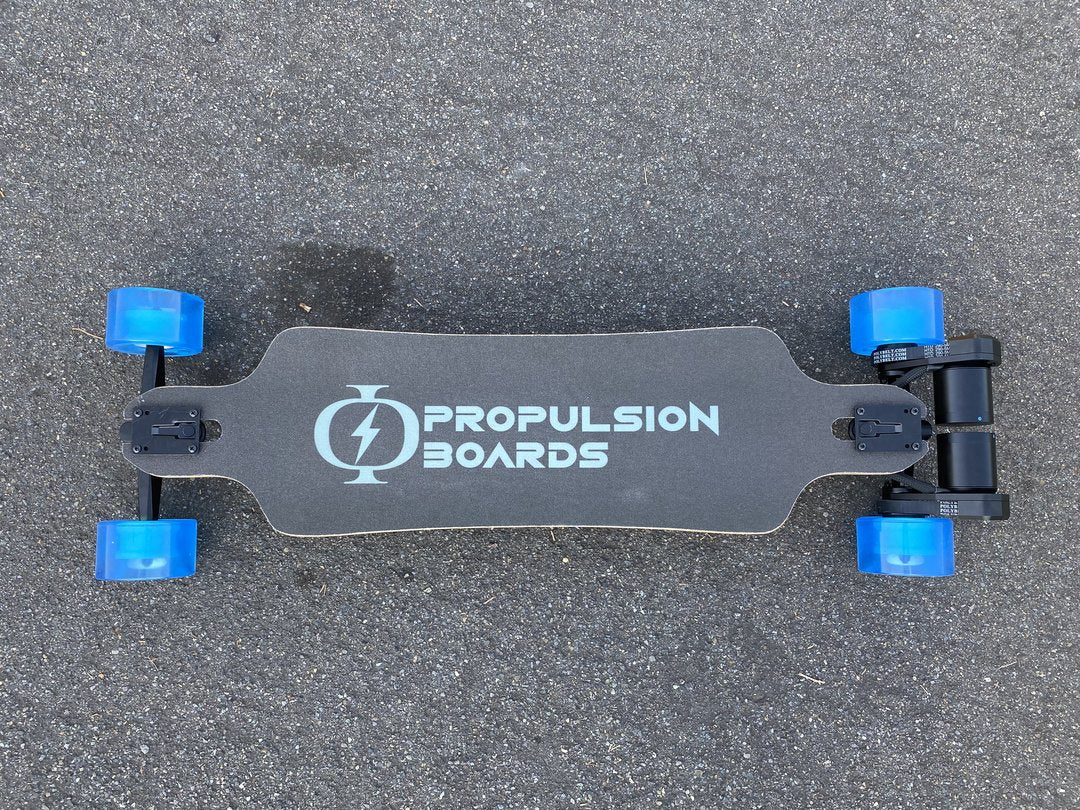
1 X Vestar Blackhawk Deck
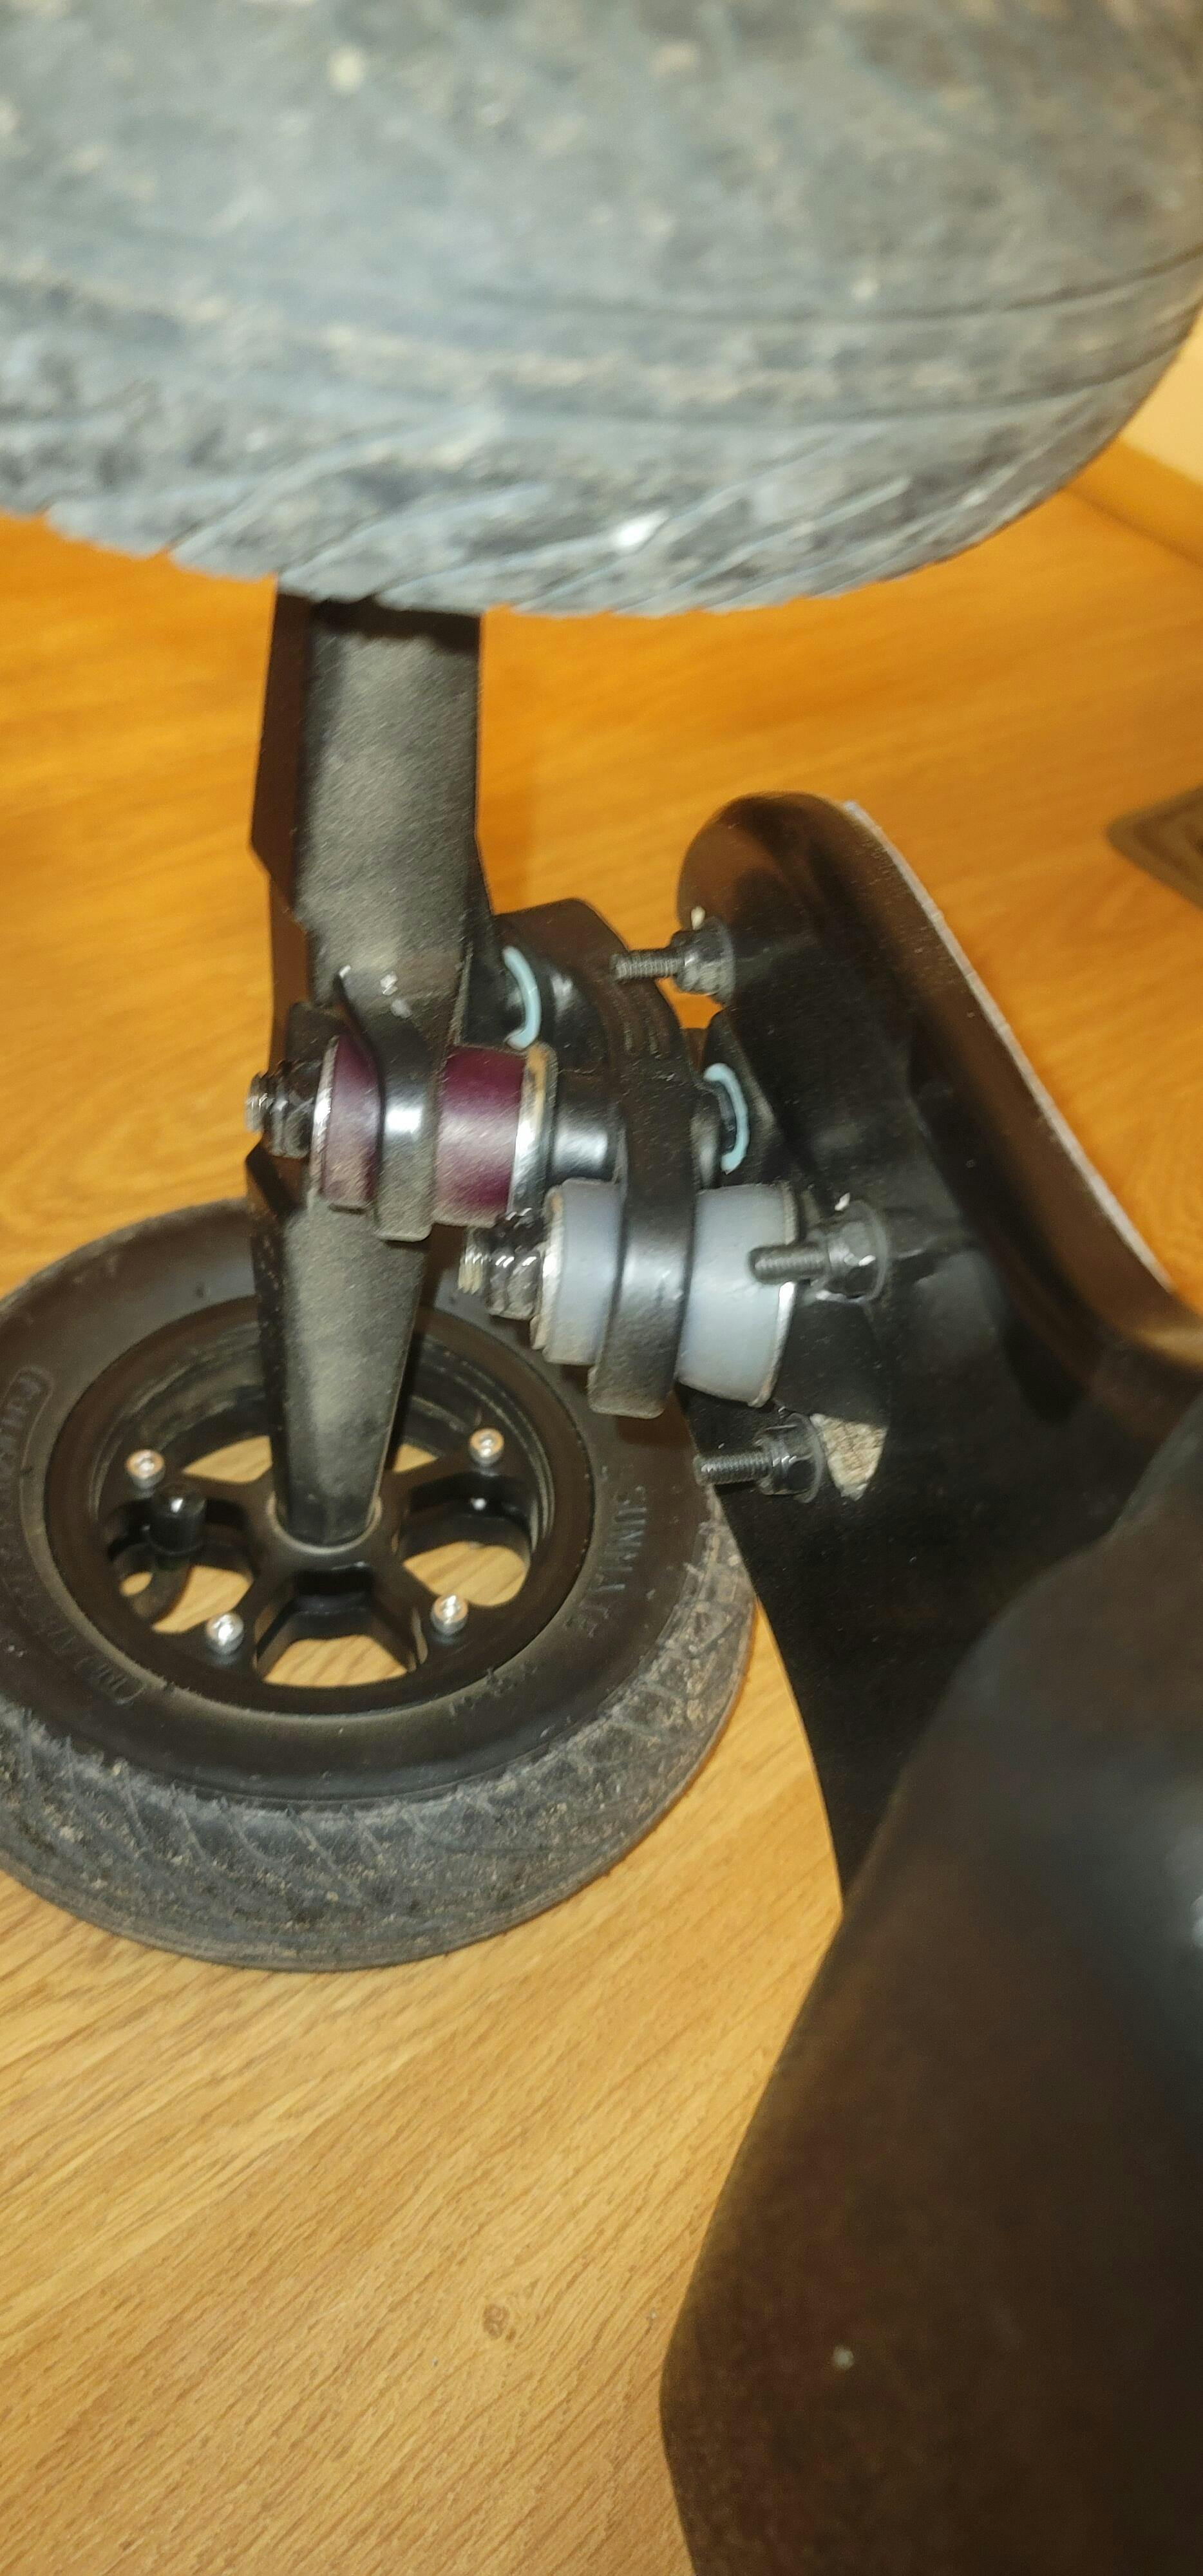
1 X Pair of double kingpin trucks
1 X 12s3p Samsung 40T Battery
1 X 12s 3A Charger
1 X Stormcore 60D VESC based ESC
1 X VX2 Pro Remote
1 X Enclosure
2 X 6374 170KV Motor
2 X Motor Mounts for double kingpin trucks
2 X Belt Covers
2 X 40T Aluminum KEGEL Wheel Pulley
2 X 15T Motor Pulley
2 X 295mm 5M 15mm belt
Other Items:
Truck hardware
Motor Mount Hardware
Enclosure threaded lock nuts and bolts
Bearings
Not Included:
Grip Tape - We do not include grip tape so that riders can add their own custom designs
Weatherstrip
Important for international, HI, and AK customers:
If you are ordering a kit internationally or from Hawaii or Alaska, the shipping calculator and calculated costs will not accurately display shipping rates. We may reach out to you with an additional invoice to compensate for this calculation.
*DISCLAIMER* IF PROGRAMED WITH ANY TOOLS OTHER THAN THE OFFICIAL VESC TOOL, WE WILL NOT BE ABLE TO ISSUE ANY FREE REPLACEMENTS UNDER WARRANTY.
Share


I have recently gotten big into electric longboards And I have tried a couple different brands by far my favorite has been boosted boards. I am super super excited to get my demon 2.0 and a shout out to James in customer service for all the information and great service that he has given me.
Really a great kit, top quality components! Everything fits well together! This board has some serious power and can go the the distance!
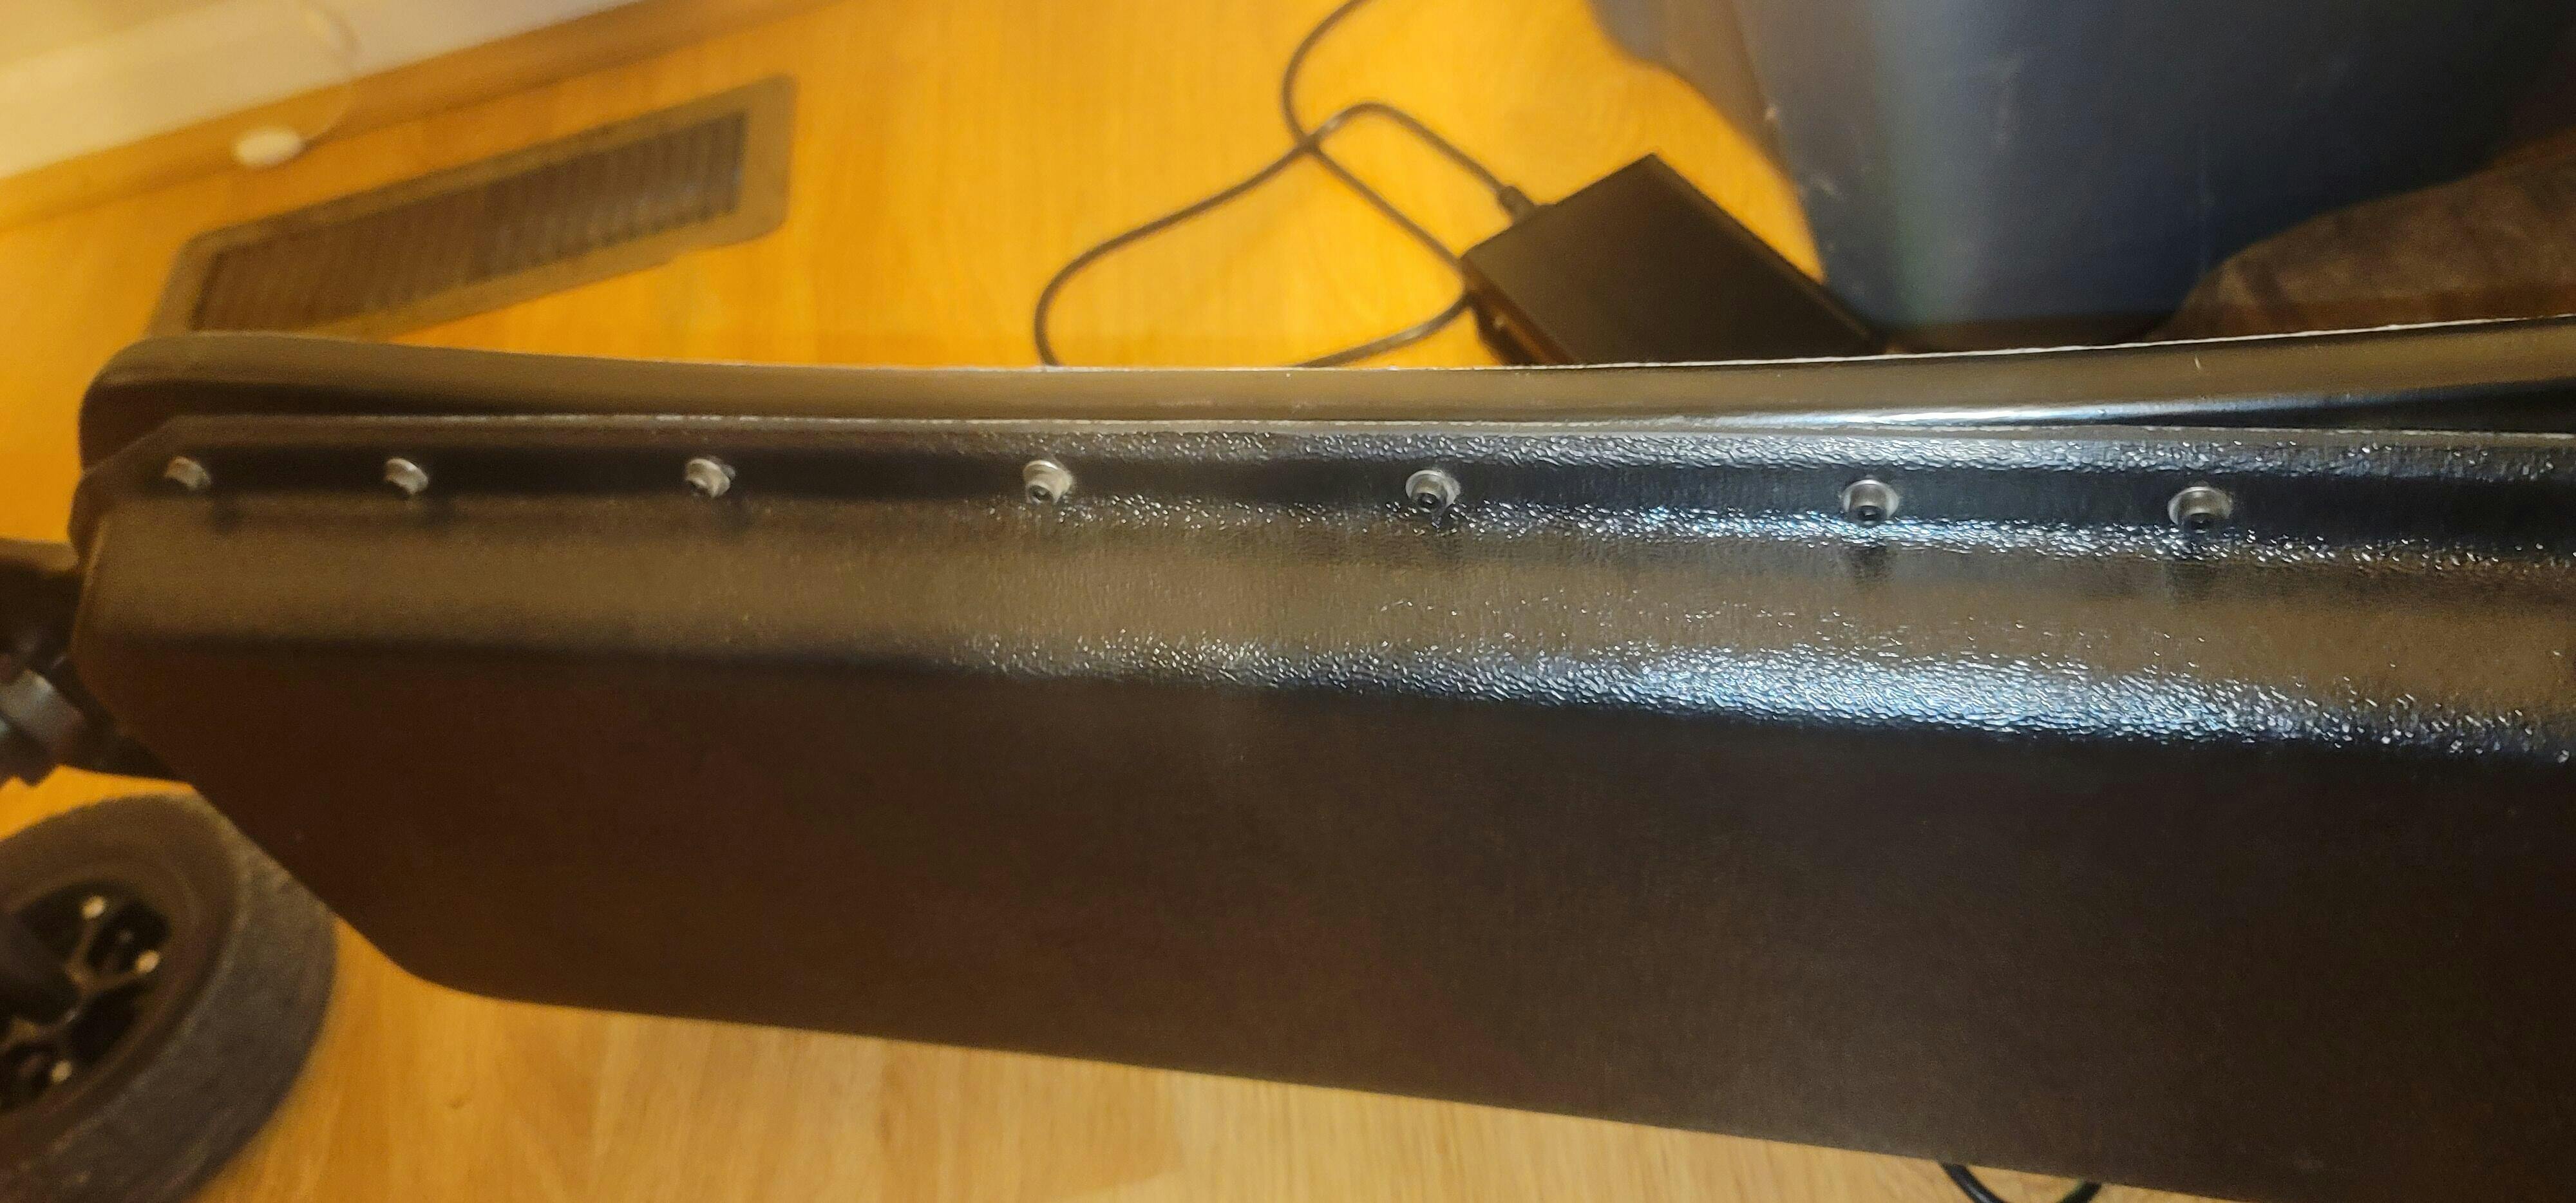
The components are solid, everything went together smoothly until you get to the battery Enclosure.
It seems the battery enclosure was designed with a different vesc and battery. It is simply too small. The cable exits of the vesc and battery collide with each other, and you feel like your cramming the parts in there. An updated Enclosure would be nice.
Other than that - this thing is a beast. If it weren't for the enclosure I'd give it 5 stars.
Faster than you can imagine, range is consistently above 35 miles with a 12s4p p42a battery. I’ve taken the board to 42 mph and although terrifying, it’s the most exhilarating thing in the world. Everyone speaks highly of the customer service and their confidence is not unfounded. I had to source a battery when building the board and propulsion boards connected me with someone who builds them, quickly solving the issue. Assembly was quick and without major holdups. 10/10 electric longboard, I would chose this over a factory prebuilt board every time.
So a few things.
First the cons
1. The instruction video is almost worthless IMO
2. Shipping was kinda ridiculous 120 for almost 2 weeks
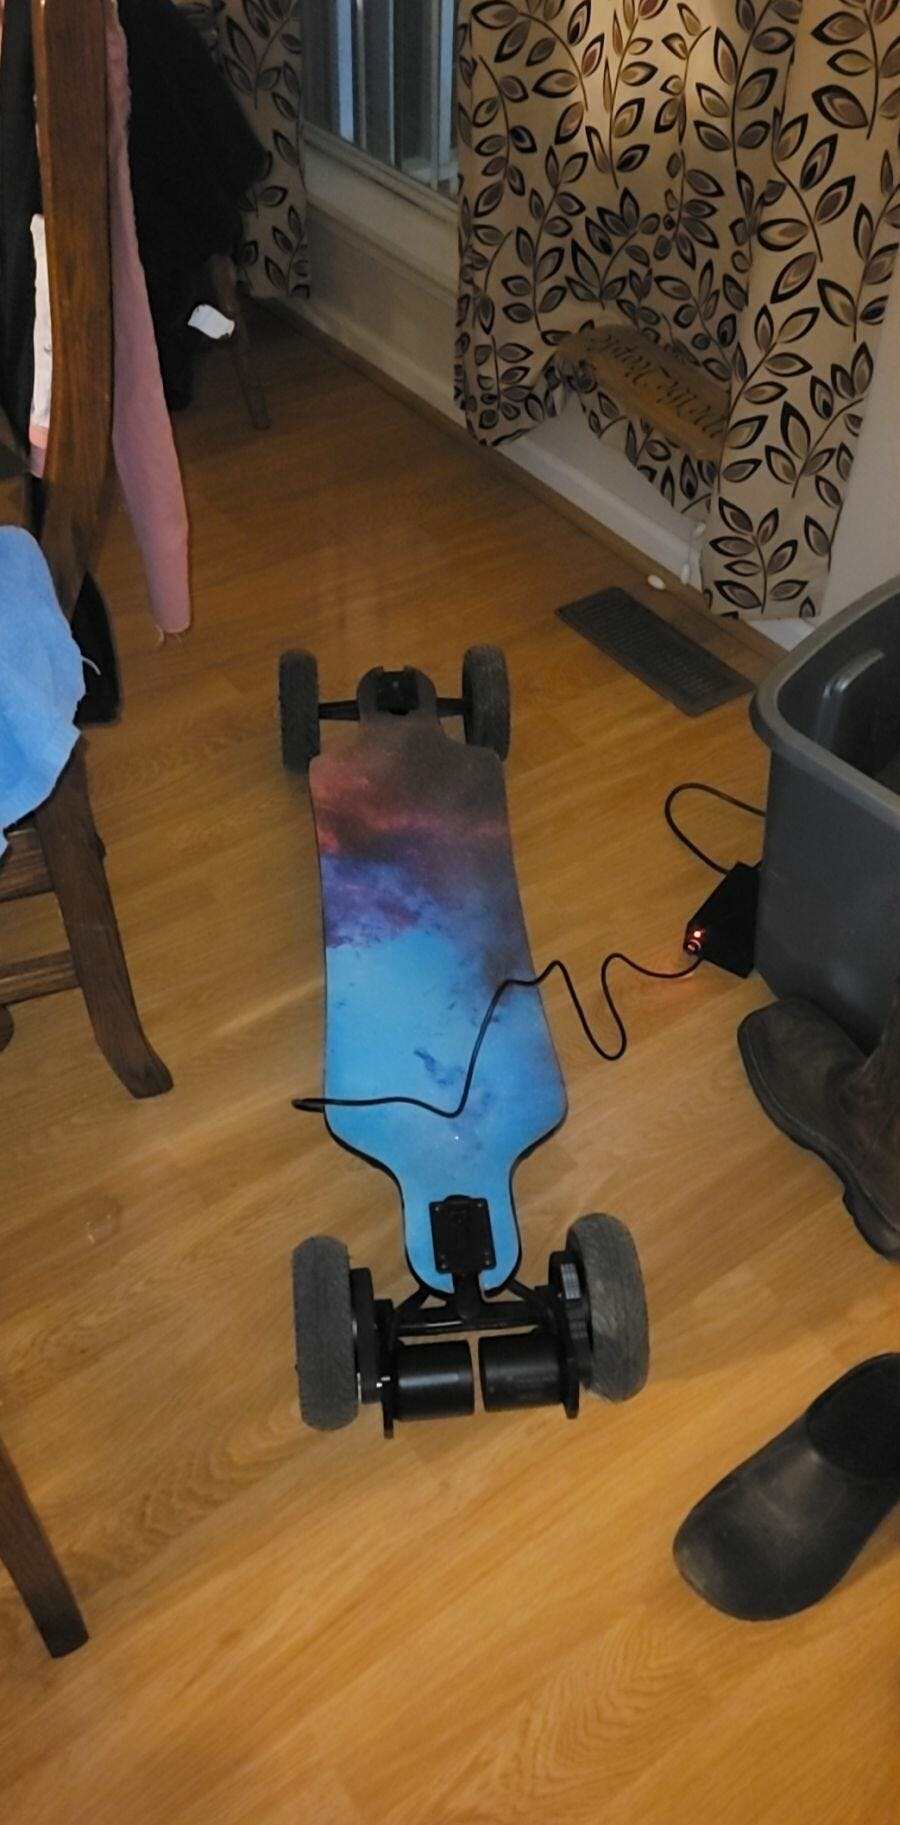
Build instructions "ATW"
Follow the motor mounting process use blue lock tight on everything. You'll have to take the pully off to tension the belts. I took 1 off and used it to get the belts tight. Reinstall the pully and mount the wheels. Once you get your wheels mounted install the threaded inserts. Use a small Allen key to to punch threw the holes. There are 2 screws further apart than the rest that will be the back. Once you figure out what end of the deck is the back apply your grip tape. " I have a graphic griptape and put it on backwards because this wasn't explained in the video" Once you have your griptape on install your trucks the motors will be on the side with the 2 screws further apart. "Again had to take the trucks off when I was installing the case because this wasn't explained" Lay all your components out in the case with NO tape yet. Put your battery logo up at the front of the case. I put the focbox with the motor terminal towards the battery. Then if you have a sharp punch mark your charger and power button. I have charger on the left and power on the right. "I used a sharp knife" Use very small drill bit as a pilot hole. After that I used a 5/16 drill bit and slowly wallow out a slightly bigger hole. Not to the point you can can fit your charger and power button threw tho. Once you get really close get a knife and chamfer the hole till you can just barely screw them in. This will give you the best fit possible. Once you have that done you can tape everything down. Now you can connect your focbox to your computer. Use the latest version of the vesc tool. Go to connections and click Autoconnect. Update your focbox to 5.3 as of this review. Don't unplug or power off your focbox during the updating process. Reconnect your focbox by going to connections and clicking autoconnect. Then you want to go to motor settings and click motor setup wizard. Its important to remember your programing the board with the case up, so you need remember to cross your motor wires so when you flip the case it will be controlling the right side. Used electric skateboard then click advanced options and make the value 100% instead of 85%. Click next make the battery 12 and 12. Then click advanced options and put your battery discharge to 25 and battery regen to -8. Then click next make your motor pully to 15 and wheel pully to 66 and pole 14. Click next it will give a warning saying your wheels will begin moving make sure they are free of the wire and floor. Click next it will make lots of noise and move your wheels. Once it's done make sure it has hall sensor for both motors and around 70/75amps. Click next you can now check to make sure your motors are spinning the right way click inver for the side that is spinning the wrong way. Click next it will take you out of the motor setup wizard. Click on motor settings general then current at the top leave the motor current max where it's at then make motor current max brake to -60 this will give you less jerky brakes when you let off the throttle. You can check and make sure your battery current max is at 25 amps and battery current max regen at -8 lower on the current menu. Click voltage at the bottom of the screen there will be a apply button click that. Click RPM make max ERPM to 80000 and max ERPM reverse -80000. Now click the "DOWN ARROW M" button to the right of the screen this will save everything you just did. Now click the other motor and repeat the previous steps making sure you save after you done. Now scroll down till you see app settings click general. Set app to use to UART. Then a little further down from app settings general you'll see VESC remote click that. Set control type to current no reverse scroll down and click traction true. Click throttle curve make throttle expo to -20 and throttle expo reverse -20 click throttle expo mode natural. This will make acceleration and breaking more smooth. Then click "DOWN ARROW A" button to the right of the screen to save your work. Now you can click the "unplug button" you should be good to go with programming now. Unplug your focbox from your computer. Turn your remote on and hold the menu button in till battery cells comes up. Hold menu button till it starts flashing select 12 and click power that how you select your options pole pairs will come poles÷2=7 in this case. Next is Speed mph, wheel type pulleyed, wheel diameter 175, Motor pulley 15, wheel pulley 66, don't worry about throttle calibrate, finally paring once it starts flashing plug your receiver in and it should turn solid blue leave the rest as is. And you should be ready to put your case on. And be ready to rip. I hope this helped. Also I put riptide bushings on out of the box. "240WR". Board took 3 days to build and figure out the programming mess. But it rips I'll give a update in a few months.


Subscribe to our emails
Be the first to know about new collections and exclusive offers.